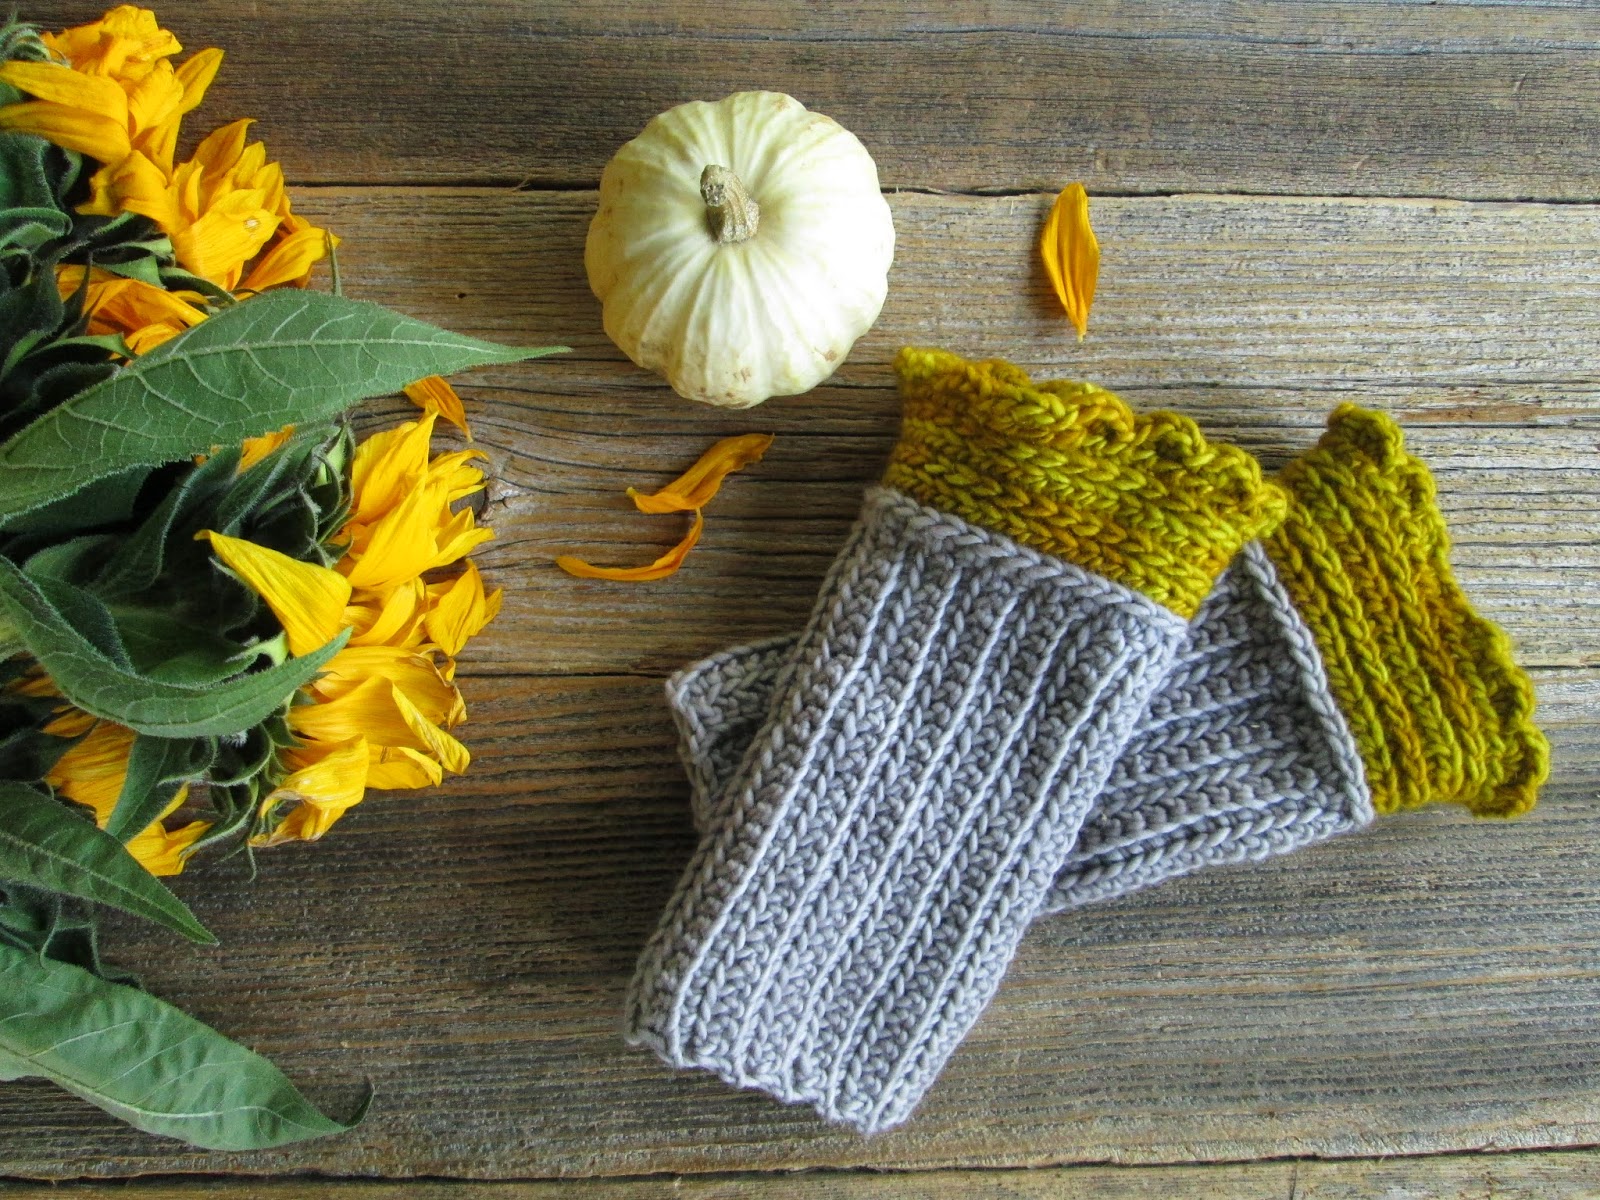
Donalda Gilchrist Samhain Fingerless Mitts
If you need help with the pattern repeat, you might find this video helpful.
If you need help with the pattern repeat, you might find this video helpful.
These mitts are worked flat and then later seamed or joined
provisionally. Keep in mind the cables are worked vertically and then the
fabric is seamed/joined horizontally in order to duplicate Donalda’s mitts on Starz' Outlander.
Size: Women’s Medium (my hands measure at 7 inches around
the knuckles)
Finished dimensions before seaming: 7 inches wide, 7 inches long
Us 5 / 3.75 mm
Knitpicks Wool of the Andes - 2
skeins at 50g /110 yds each (these are done in color Wheat)
Note: 1 skein *might* be enough if doing both provisionally.
Mitt pair weighs 55 grams, but the one done with provisional is 25g. The seamed
one is 30g.
Either do with provisional or cast on regular to seam later
on. (I made one mitt with a seam, the other provisionally)
Abbreviations:
Sl = slip
Wyif = with yarn in front
Wyib = with yarn in back
K = knit
P = purl
For the mini cables - I liked doing a shortcut so I don't have to use cable needle (see my video), or you can also do them as follows:
For the mini cables - I liked doing a shortcut so I don't have to use cable needle (see my video), or you can also do them as follows:
C1B = cable 1 back: slip st to cable needle & hold in
back of work,
k off left needle, k st off cable needle.
C1F = cable 1 front: slip st to cable needle & hold in front of work,
k st off left needle, k off cable needle.
Pattern:
Cast on 52.
Row 1 (RS): Sl 1
wyif, *P2, K1, Sl 2 purlwise wyib, K1*, until 3 sts left. P2, K1.
Row 2 (WS): Sl 1 wyif, *K2, P1, Sl 2 purlwise wyif, P1*,
until 3 sts left. K3.
Row 3(RS): Sl 1 wyif, *P2, C1B, C1F*, until 3 sts left. P2,
K1.
Row 4(WS): Sl 1 wyif, *K2, P4*, until 3 sts left. K3.
Dont' be worried if your work is all crinkly at first. The bottom edge of this pattern will do that. All will be well. See how crinkly mine is here - the blue is waste yarn for my provisional.
Dont' be worried if your work is all crinkly at first. The bottom edge of this pattern will do that. All will be well. See how crinkly mine is here - the blue is waste yarn for my provisional.
Continue until 7 inches tall (or whatever length you need to
fit comfortably around your hand), ending with a Row 4. Then bind off or
prepare for provisional join.
Figure out where you want your thumbhole to be. (see pic). I
placed mine about 2 inches in from the edge, for a length of 2 ¼ inches. Use removable markers or pins to keep
your fabric lined up, matching the cables.
For seaming, I used mattress stitch.
For provisional, I used the crochet chain cast on, and then
grafted the join with Kitchener up to
the thumbhole where I then used a crochet hook to bind off the live thumbhole
stitches (if you know of an easier way to bind off stitches without working
yarn, I’m all ears), then did Kitchener down the rest of the mitt.
Weave in ends, repeat for your 2nd mitt.


